The core system files may be corrupted if some Windows features stop working, Windows crashes, or if there are inexplicable performance difficulties. If this is the case, the core system files should be repaired. DISM, the Deployment Imaging Servicing and Management tool, as well as the System File Checker (SFC), are two tools that can be used to scan Windows and fix problems with it.
The first and most crucial step is to ensure that the problem is not caused by your hard drive. Windows has often crashed due to an issue with a failing hard drive rather than a corrupted version of Windows. For you to check your hard drive, you must run a command prompt as an administrator.
Using “chkdsk” to check hard drive
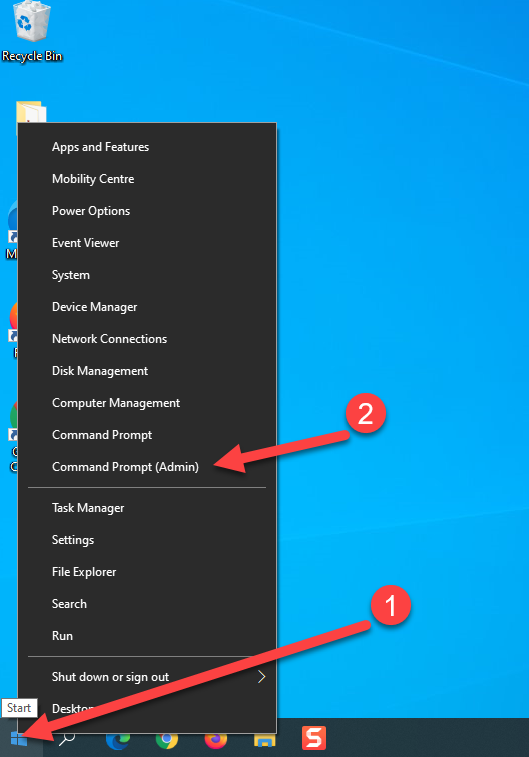
To start a command prompt as an administrator. Right-click the Start charm, and then click Command Prompt (Admin). As shown below.
Once the command prompt is up on your screen, the command that you want to type is “chkdsk c:”, you can also type a different boot drive if you have one other than C, but in most cases, it would be C. Type chkdsk c: /r /f and hit enter.
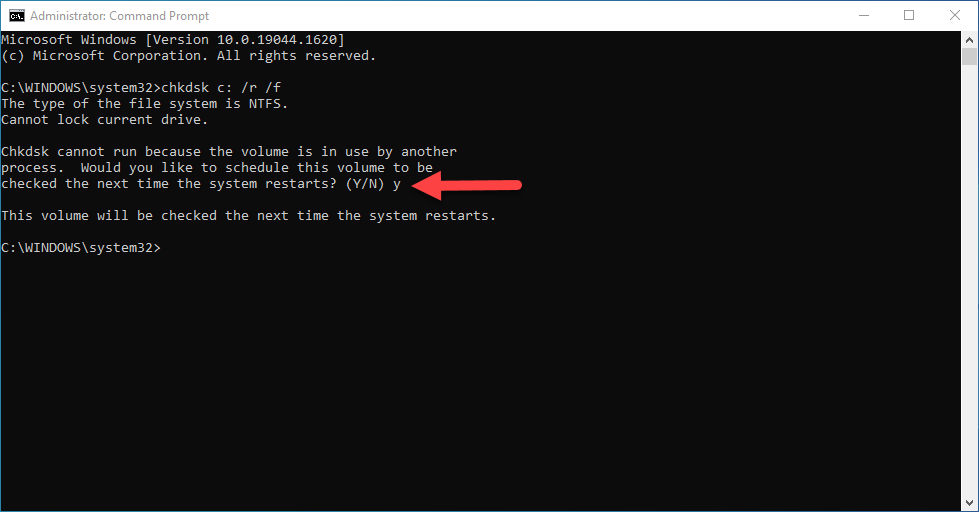
You’ll be prompted that the file system is now locked since it’s in use. Just select “yes” to run it when you restart your system, and right away, what you want to do is reboot your system. At this stage, we’ll restart it.

Okay, here we can see that the check disk is now underway. We’re not going to interrupt it, and whatever you do, don’t restart your computer while it’s still going. Allow it to finish and correct any issues it detects on your machine.

Step one has been completed. Your hard drive has been checked for errors and replaced as necessary.
Using Deployment Image Servicing and Management (DISM.exe)
Step two is to actually check your computer for problems now and see if there are any. Most of the time, you would run “sfc/scannow,” which is the repair program, but what happens if the deployment image is corrupted? This will result in SFC not giving you the results you expect. I would therefore recommend checking that the deployment image is in good standing before running SFC.
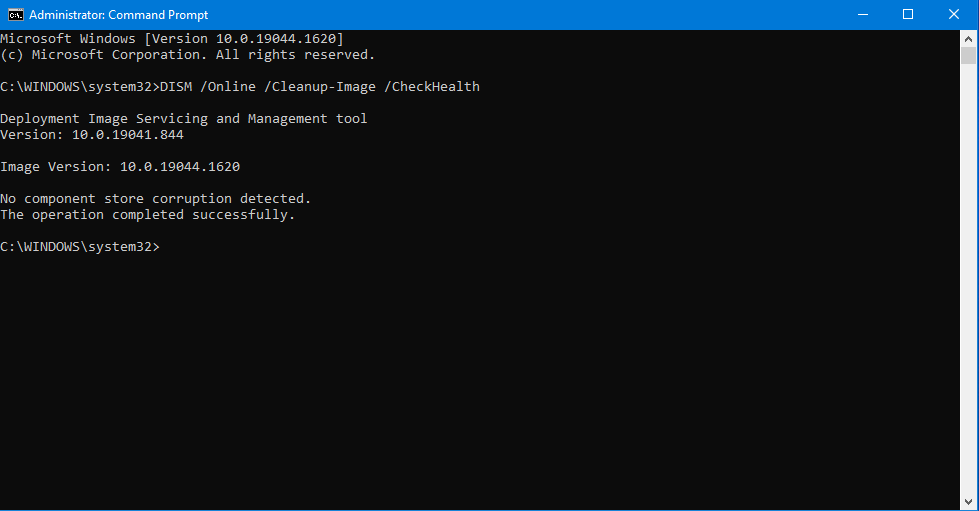
DISM/Online/Cleanup-Image/CheckHealth
What are the steps we need to take? Once again, click on the start menu. When a command prompt appears, right click on it and choose run as administrator. The command that you want to type is “DISM/Online/Cleanup-Image/CheckHealth.” Hit enter. The process is very quick. We’re just doing a basic check to see if there are any images or issues with the image.
DISM/Online/Cleanup-Image/ScanHealth.
Generally, I go up a level when I finish that. Instead of “CheckHealth,” we will use “ScanHealth.” The image is scanned in a more advanced manner to make sure it’s alright. It does take a little bit longer for this to process, so please let it run its course.
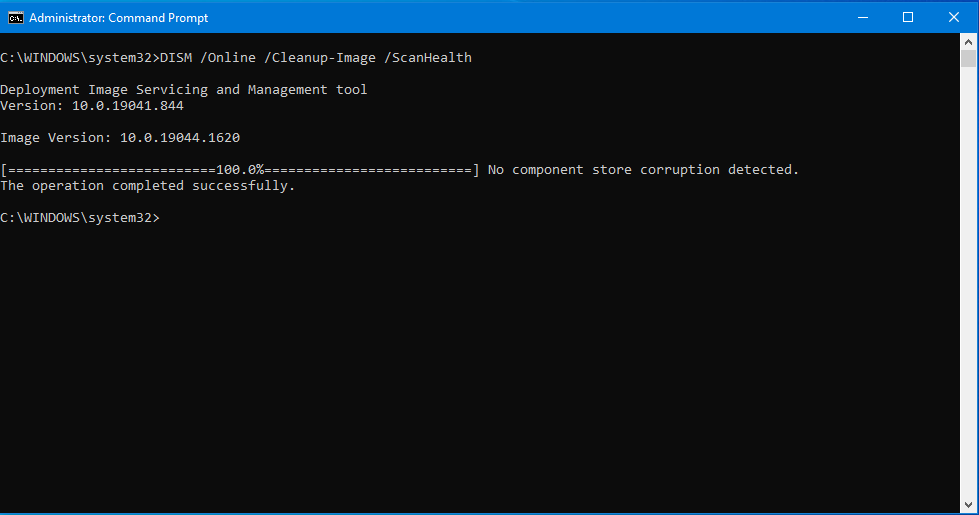
On this particular system, the online image is unaffected by any issues. But what if there was one?
DISM/Online/Cleanup-Image/RestoreHealth.
Let’s take care of that now. You’ll want to run the same command, but instead of “ScanHealth” at the end, we’ll now use “RestoreHealth”. This process does take quite a lot of time as well, so please be patient and let it run through its procedure. Once it is finished, we will be able to continue.

As you can see from my system, there are no errors, but what if you run “RestoreHealth” and there are errors then what? You’re going to need an image of Windows 10 at this point, and then you’ll need to rebuild your online image.
Download Media Creation Tool
The process is quite simple. Search for “Microsoft media creation tool” in your web browser.
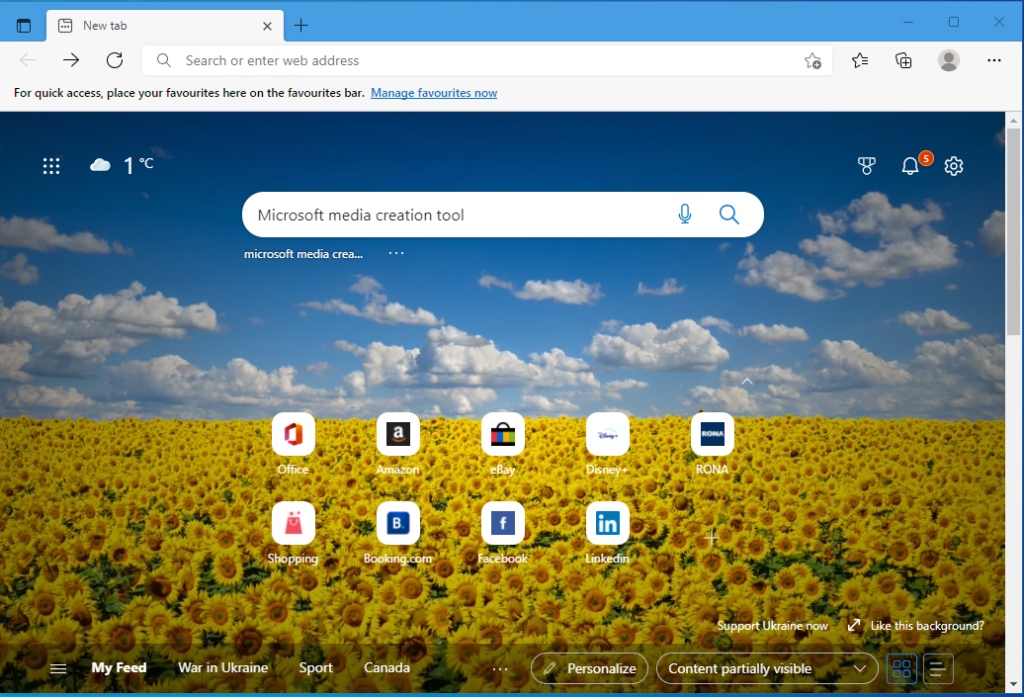
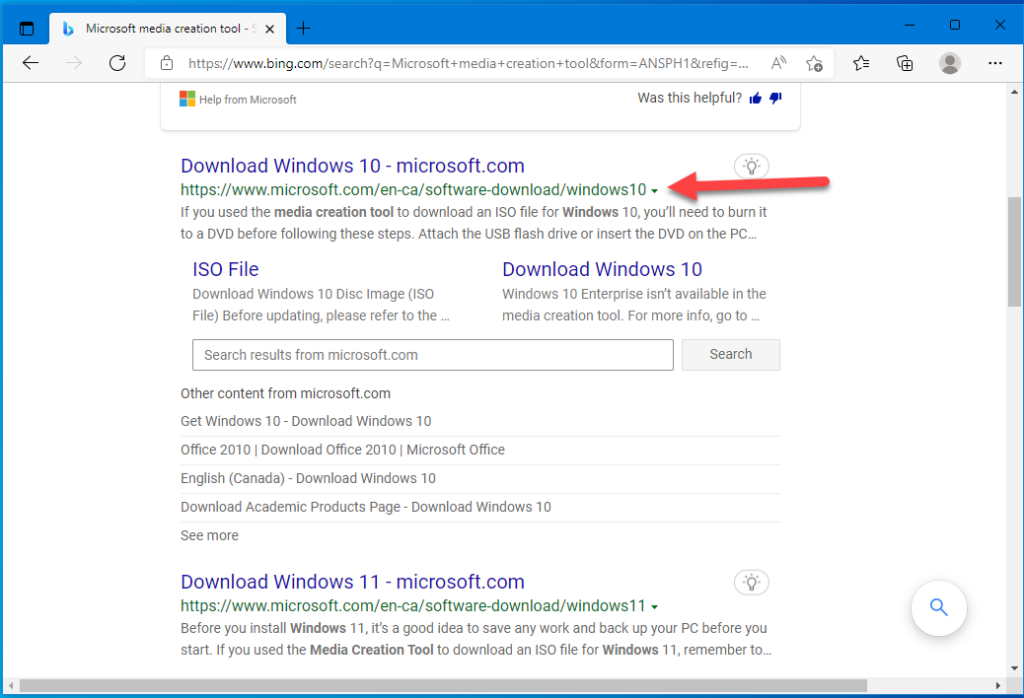
Once that has loaded, make certain that you are going to the microsoft.com website. Make sure you’re not downloading a hacked version from a third party that might potentially harm your machine.
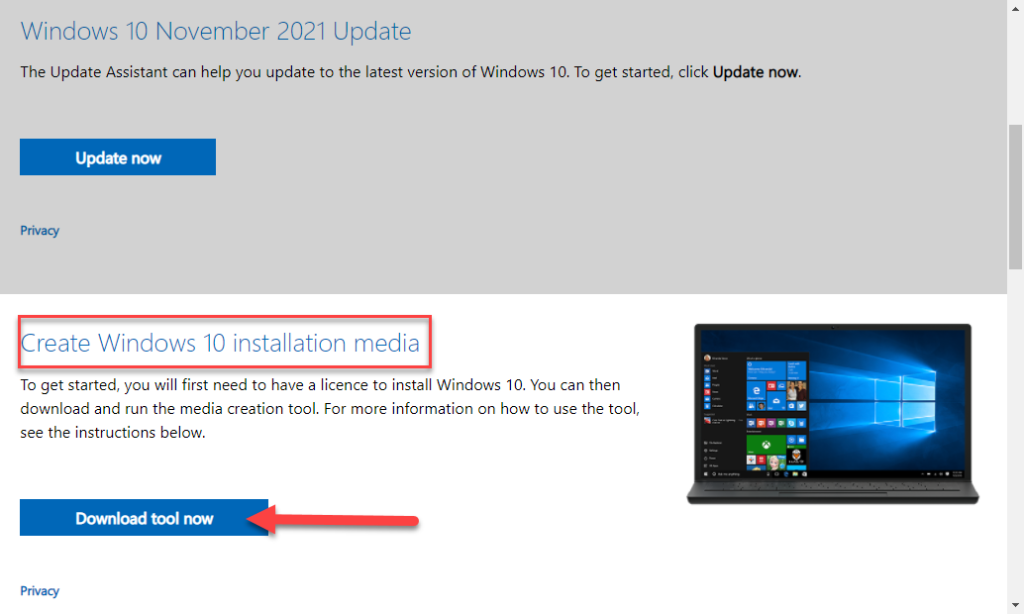
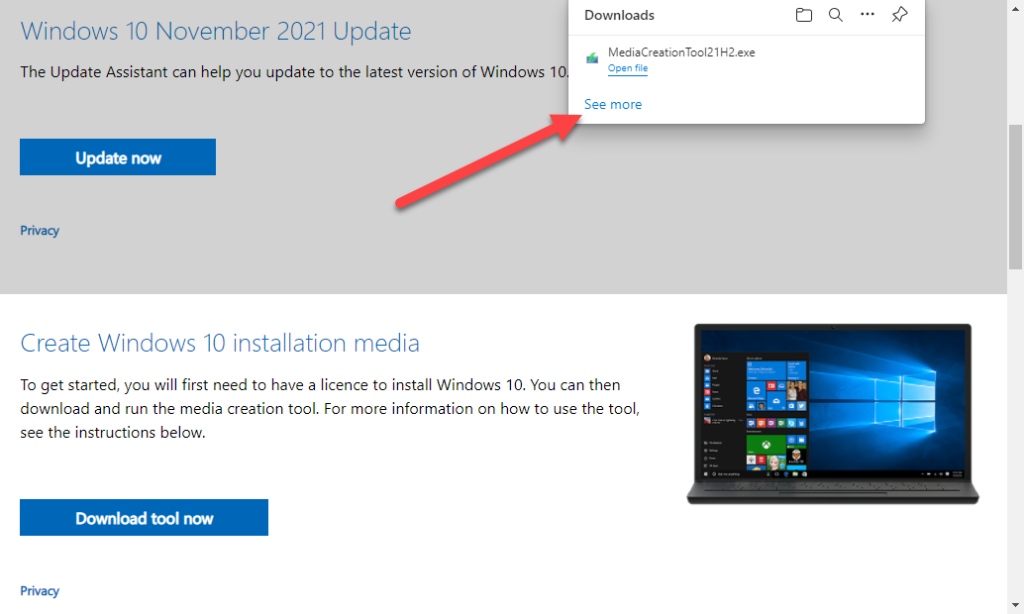
So, after you’ve arrived at this page, scroll down until you see “Create Windows 10 installation media.” Download the media creation tool.
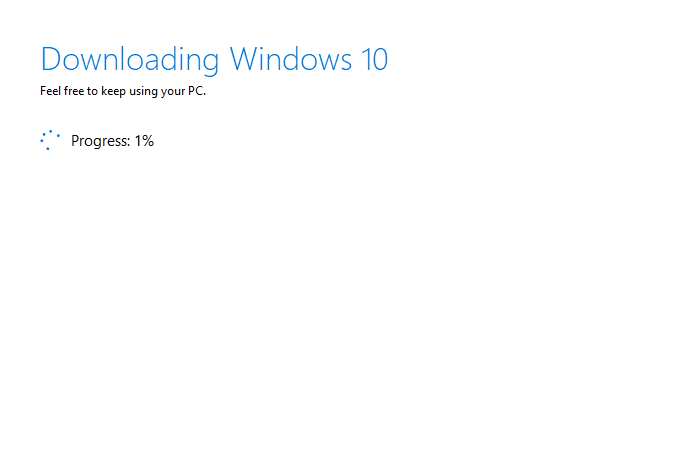
The Media Creation Tool is Downloading.
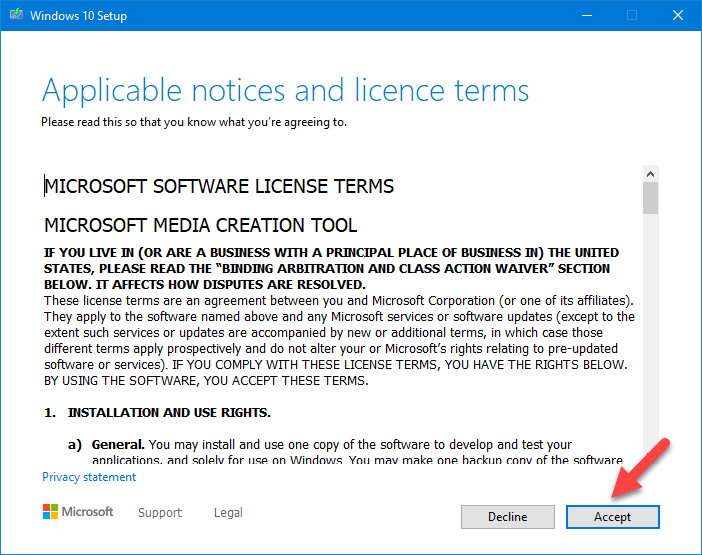
Click accept the License terms.
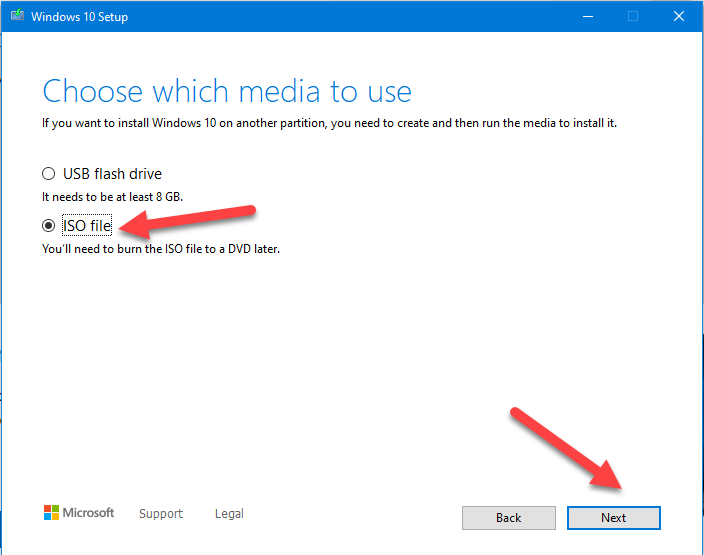
This is the other screen you need to double check. In our next step, we will need to mount the ISO file, so make sure you save it as an ISO file. With Windows 10, you can actually mount ISO files quite easily. So you click on the ISO file. Click on Next.
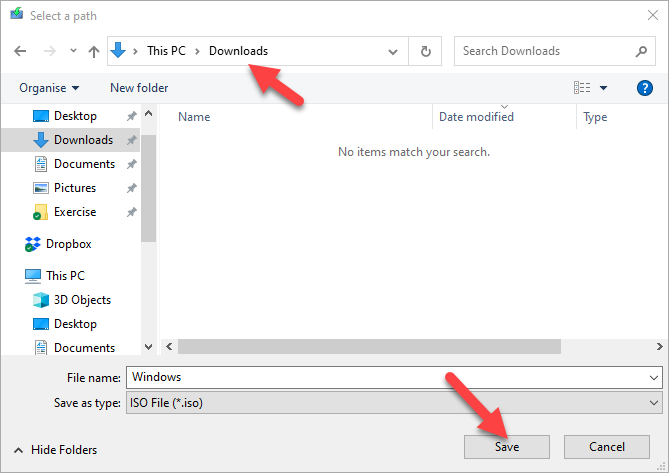
You want to save it. The file will be saved into your downloads folder by default, so click “save.”
The download takes quite some time since it’s more than four gigabytes in size.
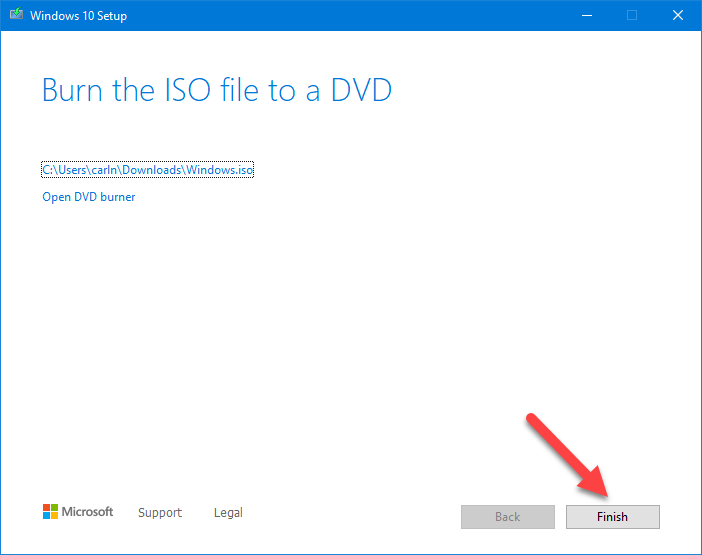
Now that the download is complete, select finish. We now go to our downloads folder and find the files.
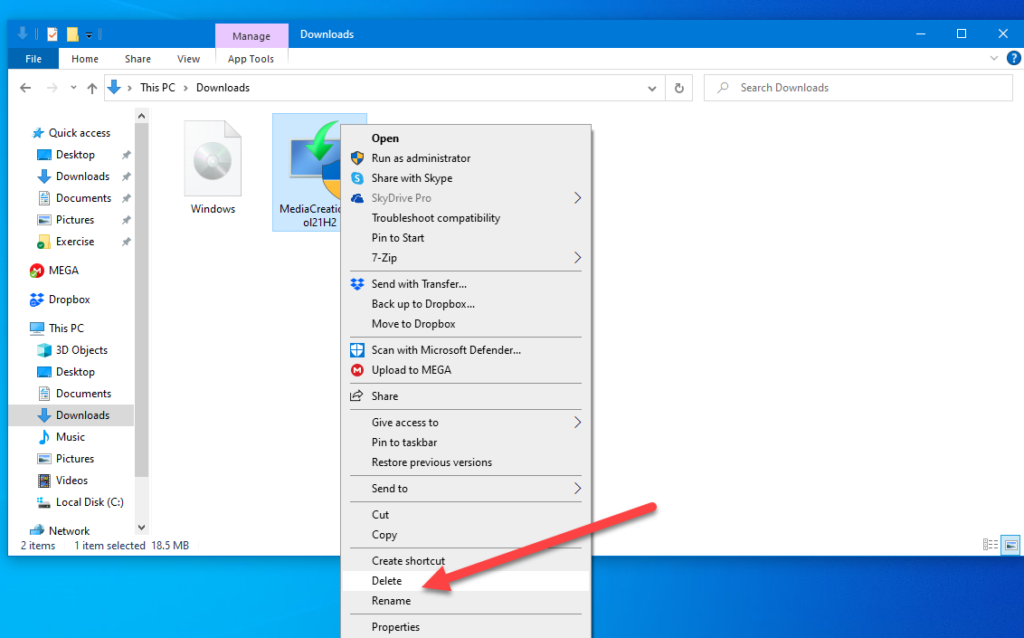
Now that we aren’t going to need the media creation toolkit anymore, we will delete it and move on.
At this point, we will fix our online image so that the system file check runs and our system is properly repaired. In this case, we’re going to right click on the ISO file and mount it.
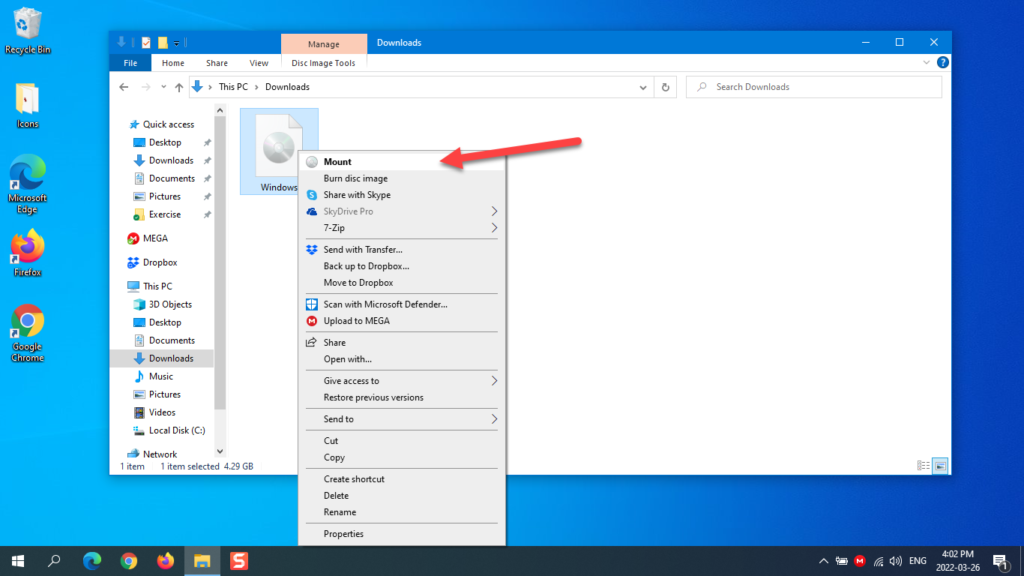
As you can see, it’s set to drive E, so we’ll close this window.
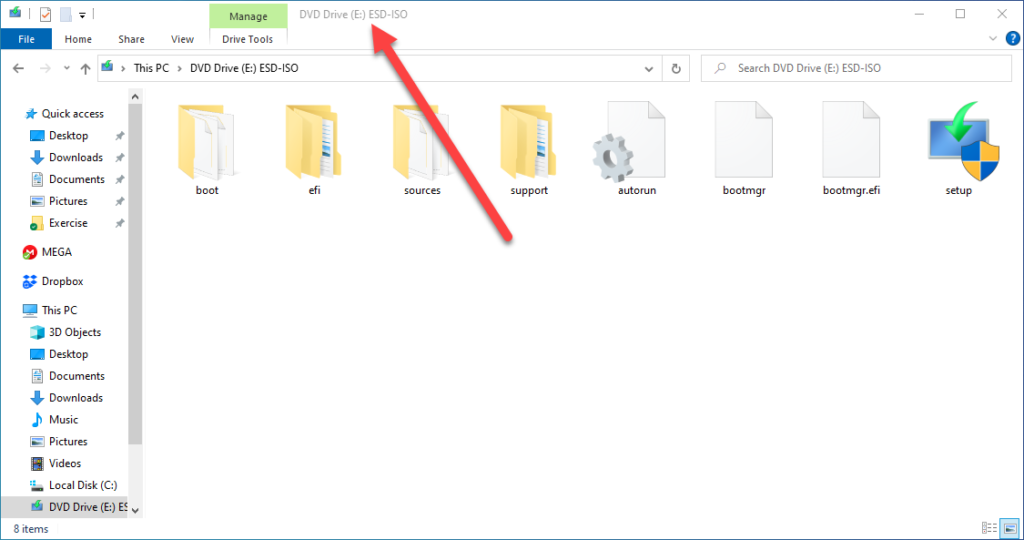
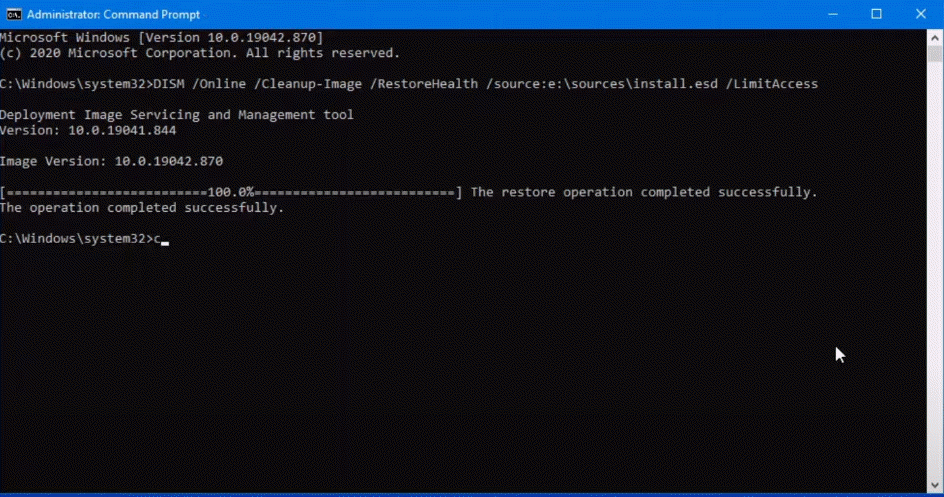
DISM /Online /Cleanup-image /RestoreHealth /source:e:\sources\install.esd /LimitAccess
We need that administrative command prompt once again. Click on “CMD,” right click on it, and run as administrator.
The command we’re going to type is a little longer this time. So we’re going to run “DISM /Online /Cleanup-image /RestoreHealth /source:e:\sources\install.esd /LimitAccess” .
Now this process will take a bit of time as well. This is because what we’re about to do is we’re trying to repair that image to make sure it’s fully functioning. So once again, we’ll let this run to completion.
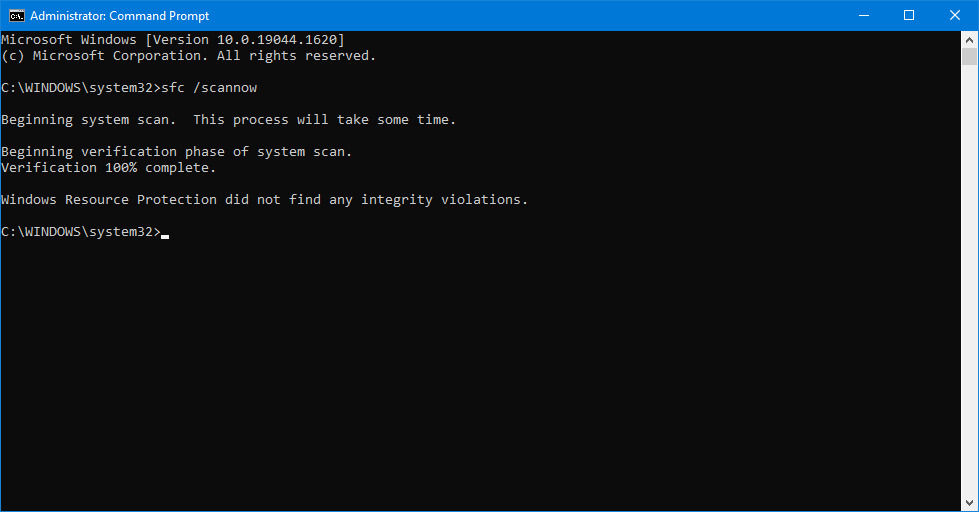
sfc/scannow
Now that the image has been repaired, we can move on to repairing the operating system. The command you need to type at this point is “sfc/scannow”, with a double N in the middle.
Once you hit enter, it will perform a full scan of your system and repair any damaged files. Don’t forget that this process will take a considerable amount of time, so be patient. This is what you are hoping for after SFC is complete. There were no integrity violations. If there are any, it will show you a specific error on this screen. It usually tells you to read the log file, “CBS.logfile”, once it finds an error.
Once you’re done, close the screen. If this fixed the problem, your process is complete.

