Creating a USB recovery drive is a smart idea. Windows PCs that are running into issues can be fixed by using a USB recovery drive, even if the computer won’t boot.
In order to create a recovery disk, the USB memory stick must be plugged into a working Windows 10 computer. Following that, the Recovery Media Creator wizard must be run. Creating a recovery drive can be done on the same PC that you intend to use it on or on a different PC.
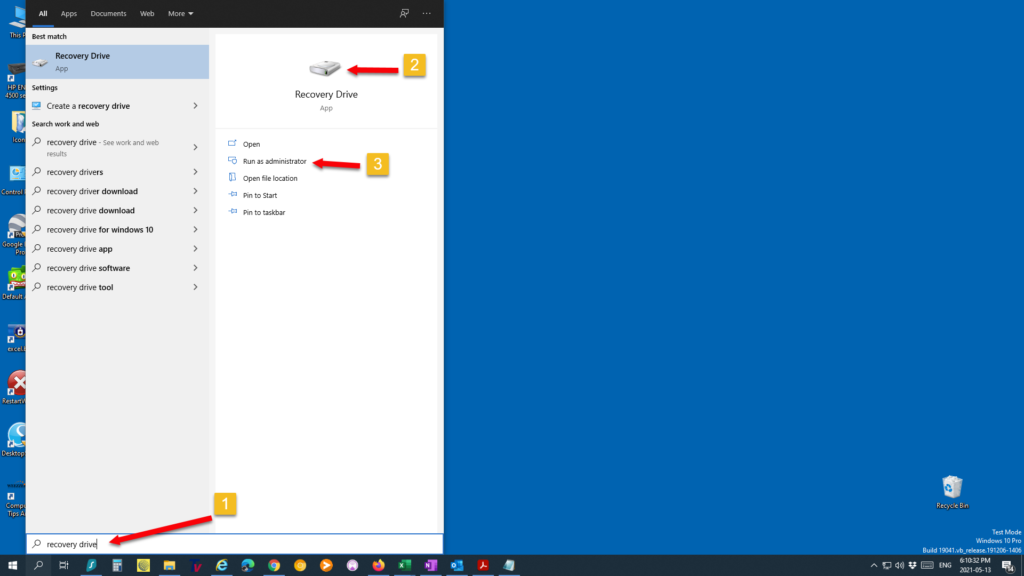
Recovery Media Creator wizard can be launched in a number of ways, but using the search option is usually the fastest. Just type in Recovery Drive and it should pop up.
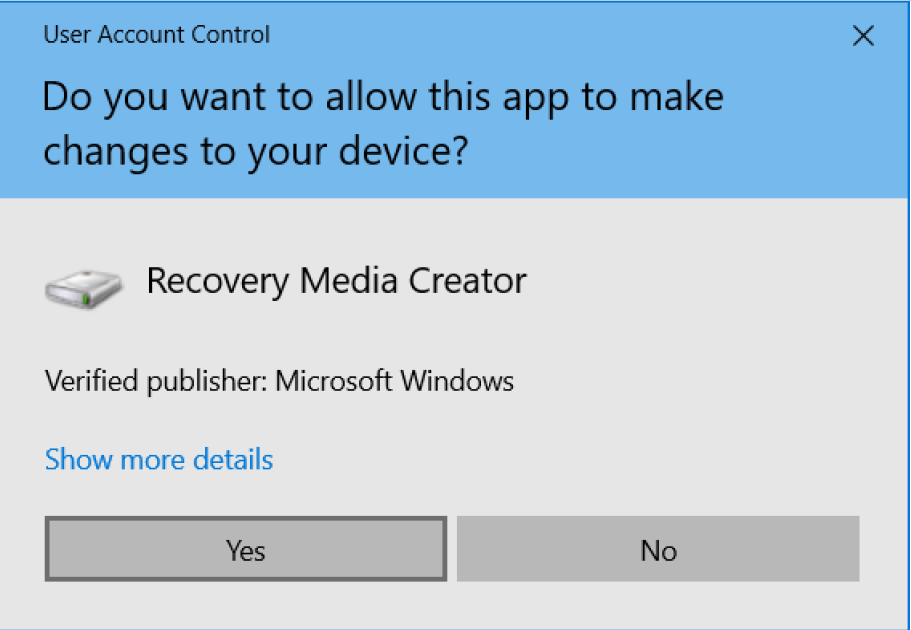
Before the Recovery Media Creator wizard is launched, the User Account Control (UAC) will prompt for consent. Press Yes to continue.
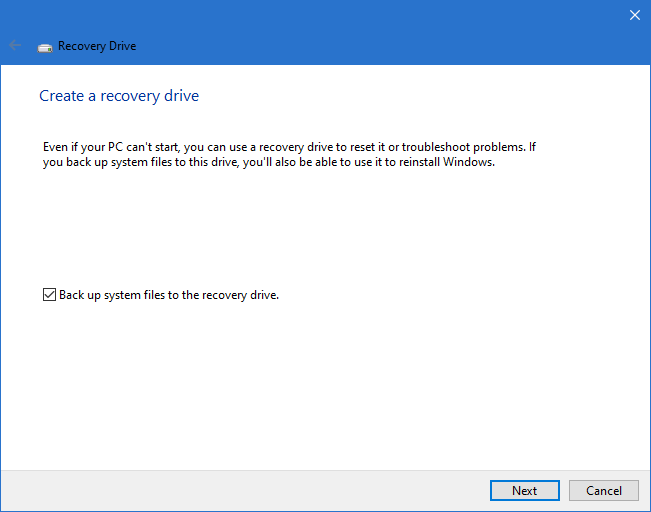
When the first screen of the recovery drive tool opens, you will notice that backing up system files is optional. (You will need a sufficiently large USB flash drive if you select this option.) If you choose to back up your system files, you can reinstall Windows from the Recovery Drive USB.
I have chosen to back up the system files. To continue, click Next.
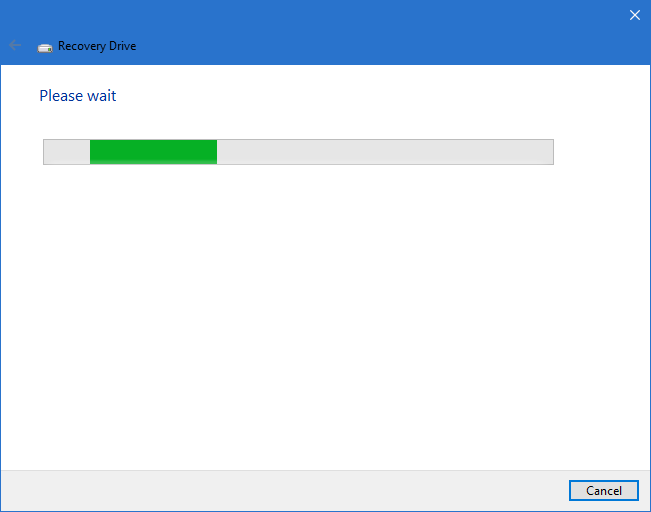
Recovery Drive wizard will now scan the computer for USB drives.
Once the scan is complete you will be informed that your USB drive must be at least16 Gigs and that everything on the drive will be deleted. Select the USB drive you will be using, once you have selected click next.
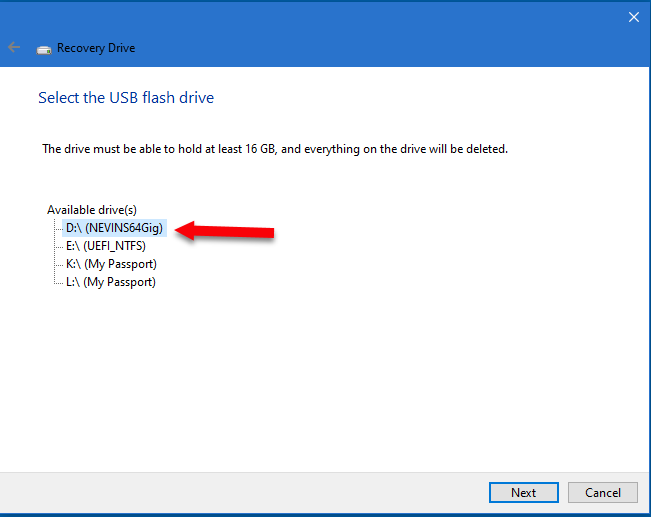
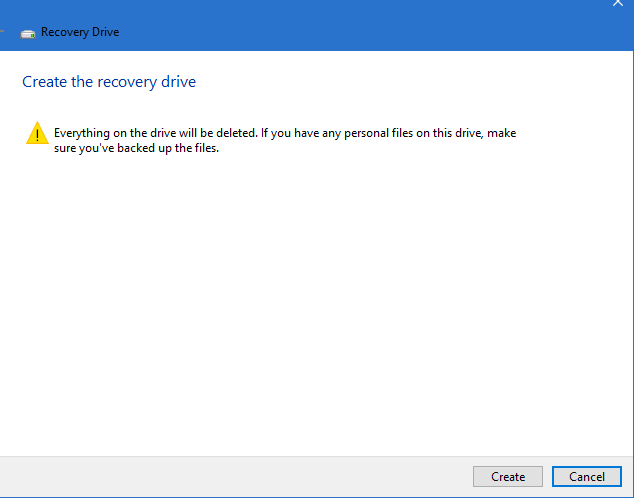
The next screen will again warn you that the contents of the drive will be deleted. Click Create.
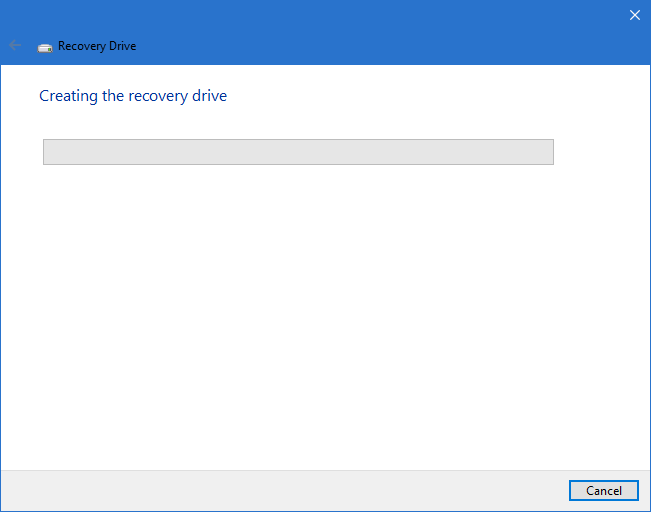
The Recovery Drive wizard will format the USB drive and start copying files to the drive.
When the process is complete. You can then close the Recovery Drive wizard by clicking the Finish button.
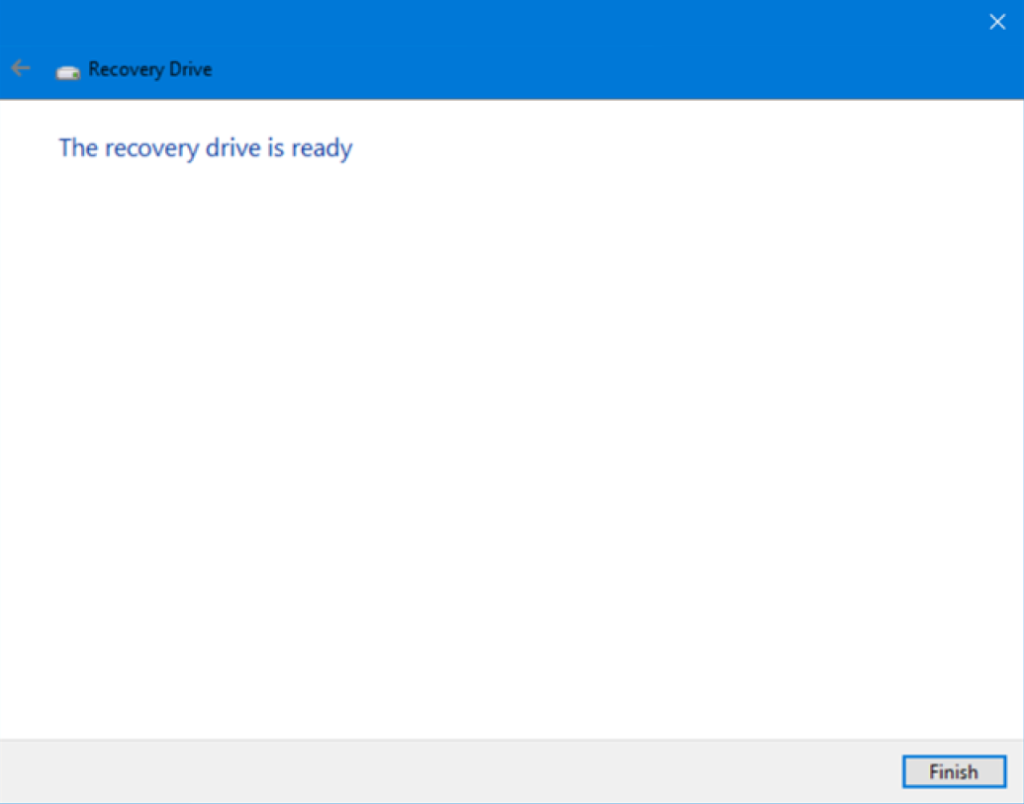
Congratulations! You now have a USB Windows 10 Recovery Drive. You can now troubleshoot, repair, and even reinstall windows 10 if you want. It will help you with all kinds of problems your windows machine might give you. Hopefully you were able to create this USB Recovery Drive without any problems.

