A constant issue that plagues internet users is slow internet speed. Often, the problem is the network configuration. Other times, the problem could lie with the computer or even with the Internet provider. You can, however, resolve many common DNS, TCP, and IP address problems by using Windows Command Prompt. Some tips and tricks are provided below on how you can improve internet speed on your windows PC using CMD.
Accessing the Command Prompt in Windows 10
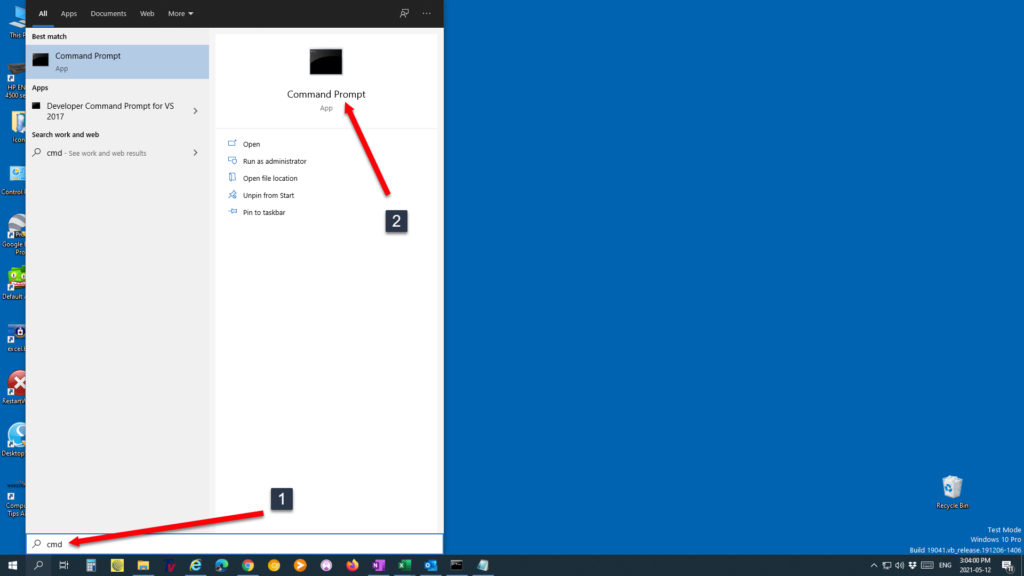
There are a number of ways to launch the Command Prompt. We will open the Command prompt using search, which is one of the fastest ways to open the program. Enter command or cmd into the search field in your taskbar and then click on the Command Prompt.
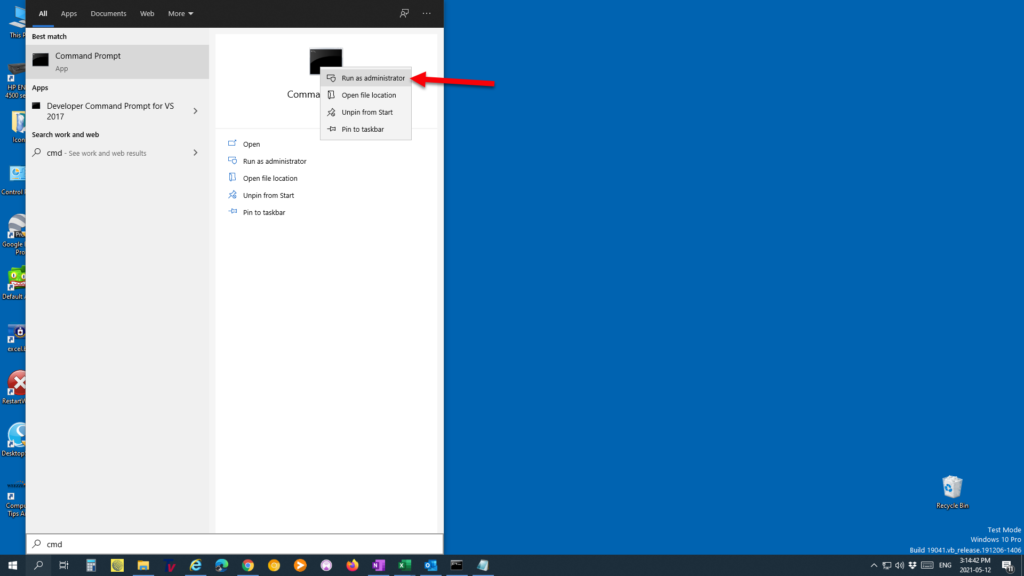
To launch Command Prompt as administrator, use the “Run as administrator”.
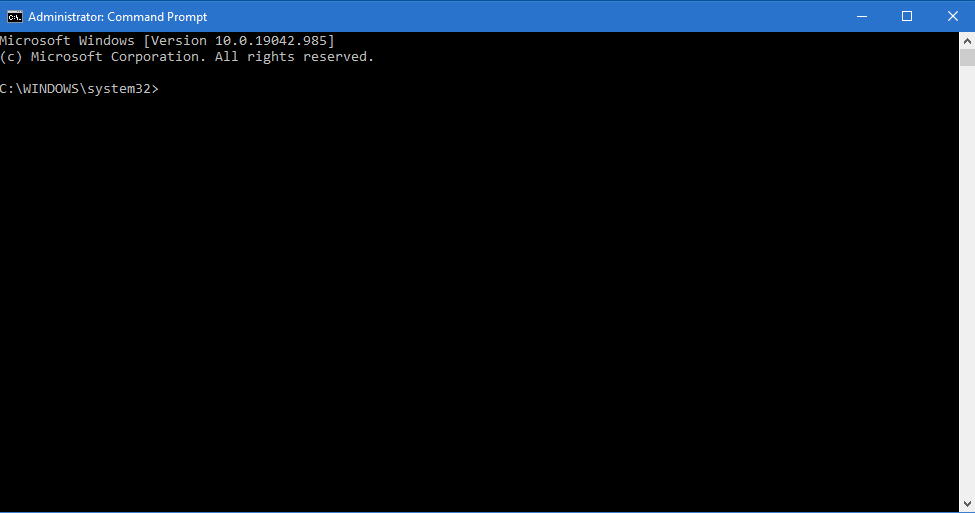
The Administrator Command Prompt is now ready.
Using Ping for Network Connectivity
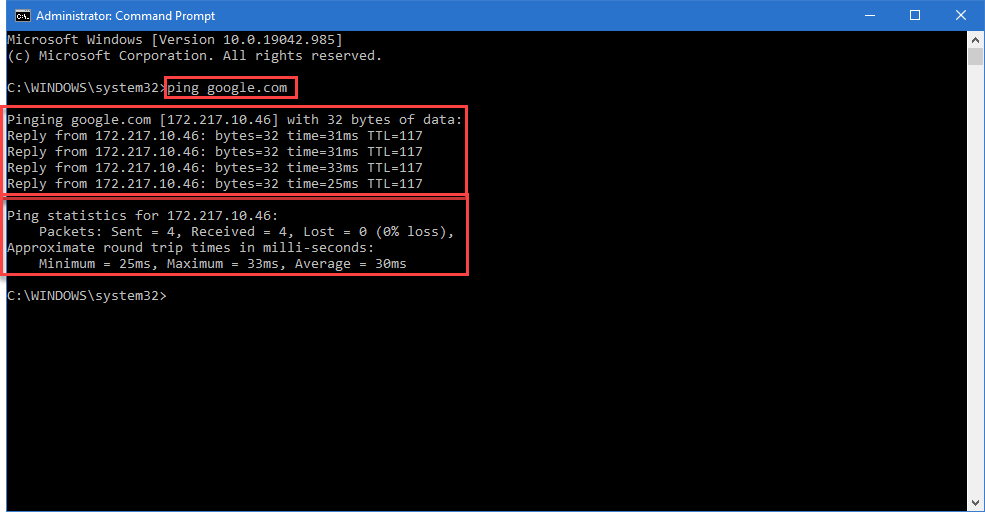
The first thing we are going to do is use ping to test our internet connection. We will ping Google and see how fast our internet connection is. With Command Prompt open, type “ping google.com” without the quotes and hit enter. In the image below, you can see the results. A ping command sends a request over the network to a specific IP address or device. In a successful ping, the computer that was pinged responds to the computer that initiated the ping. An overall summary will show you how many packets were sent and received, along with the minimum, maximum, and average response times. This is ping at its most basic.
Release/Renew Your IP Address
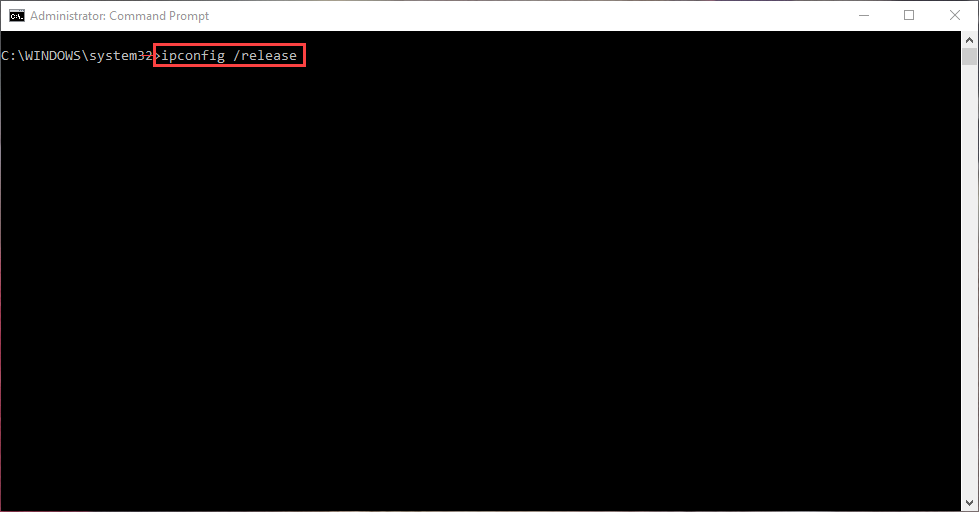
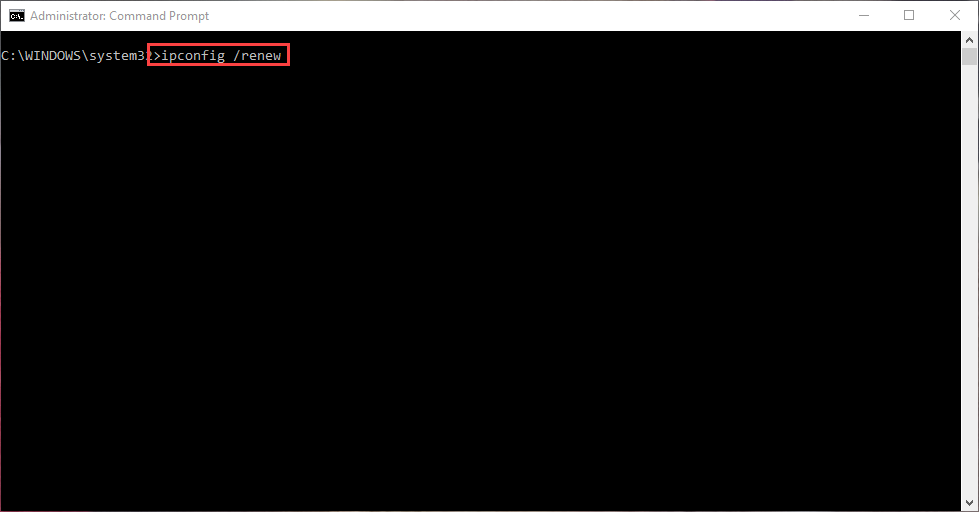
Most minor glitches and errors can be fixed by releasing and renewing the IP address of the computer. Furthermore, it resets the connection to the internet, allowing other changes and troubleshooting to take effect. Enter ipconfig /release in the command prompt. Wait for the command to process, then type ipconfig /renew. This should have changed your IP address, now you can try to access the internet.
Command Prompt with ipconfig /release
Command Prompt with ipconfig /renew
How to Flush and Reset the DNS Cache in Windows 10
Flushing the DNS resolver cache can help resolve DNS related problems in Microsoft Windows 10. Each time you visit a website with its domain name, your browser retrieves its IP address from the DNS server. It then redirects you to that website. If you visit that page again, Windows remembers what IP address it points to so you can access the information faster next time you visit. These records make up the DNS Resolver Cache.
It is possible for an IP address associated with a site to change. A DNS Resolver Cache that contains an outdated IP address entry may prevent your computer from getting to the site. It is also possible for cached data to become corrupt. If you cannot access a particular website, flushing the DNS cache could be a solution to the problem.
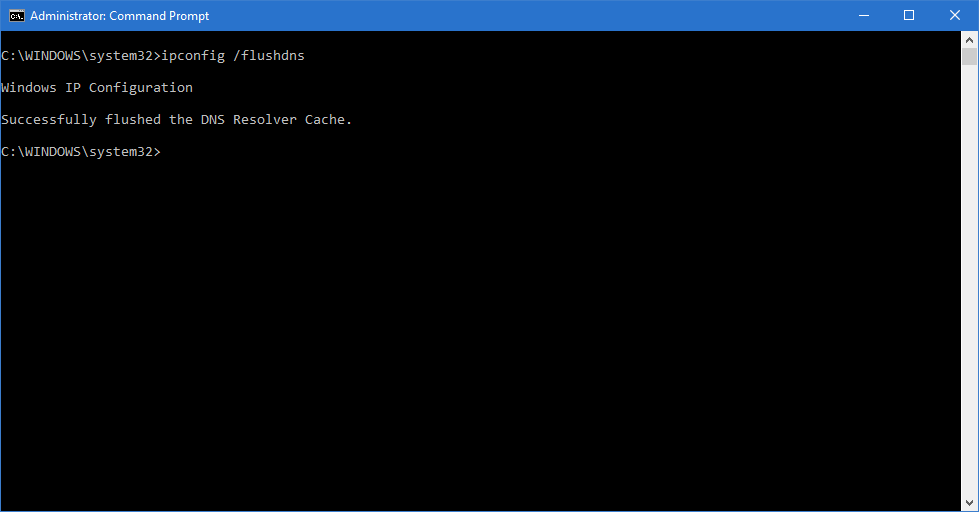
Type ipconfig /flushdns then press Enter.
Reset Winsock
Is your web browser not connecting to the network? Often, this problems arises from a faulty network configuration. Important network settings are restored to their defaults, often correcting many network issues by performing a winsock reset.
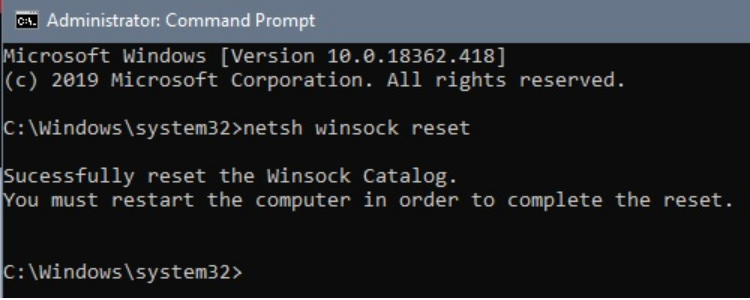
In the Command Prompt window, type netsh winsock reset and hit Enter.

You will be prompted to restart the computer to complete the reset. WiFi users may need to reconnect to their networks after the restart.
